
Custom kitchen islands: layout, materials and everyday use
A custom kitchen island earns its place when it makes the room easier to use. It might provide a clear preparation surface, bring storage closer to the cook or create a place to sit while someone else works. Its size, position and materials should follow those jobs, alongside the routes through the rest of the kitchen.
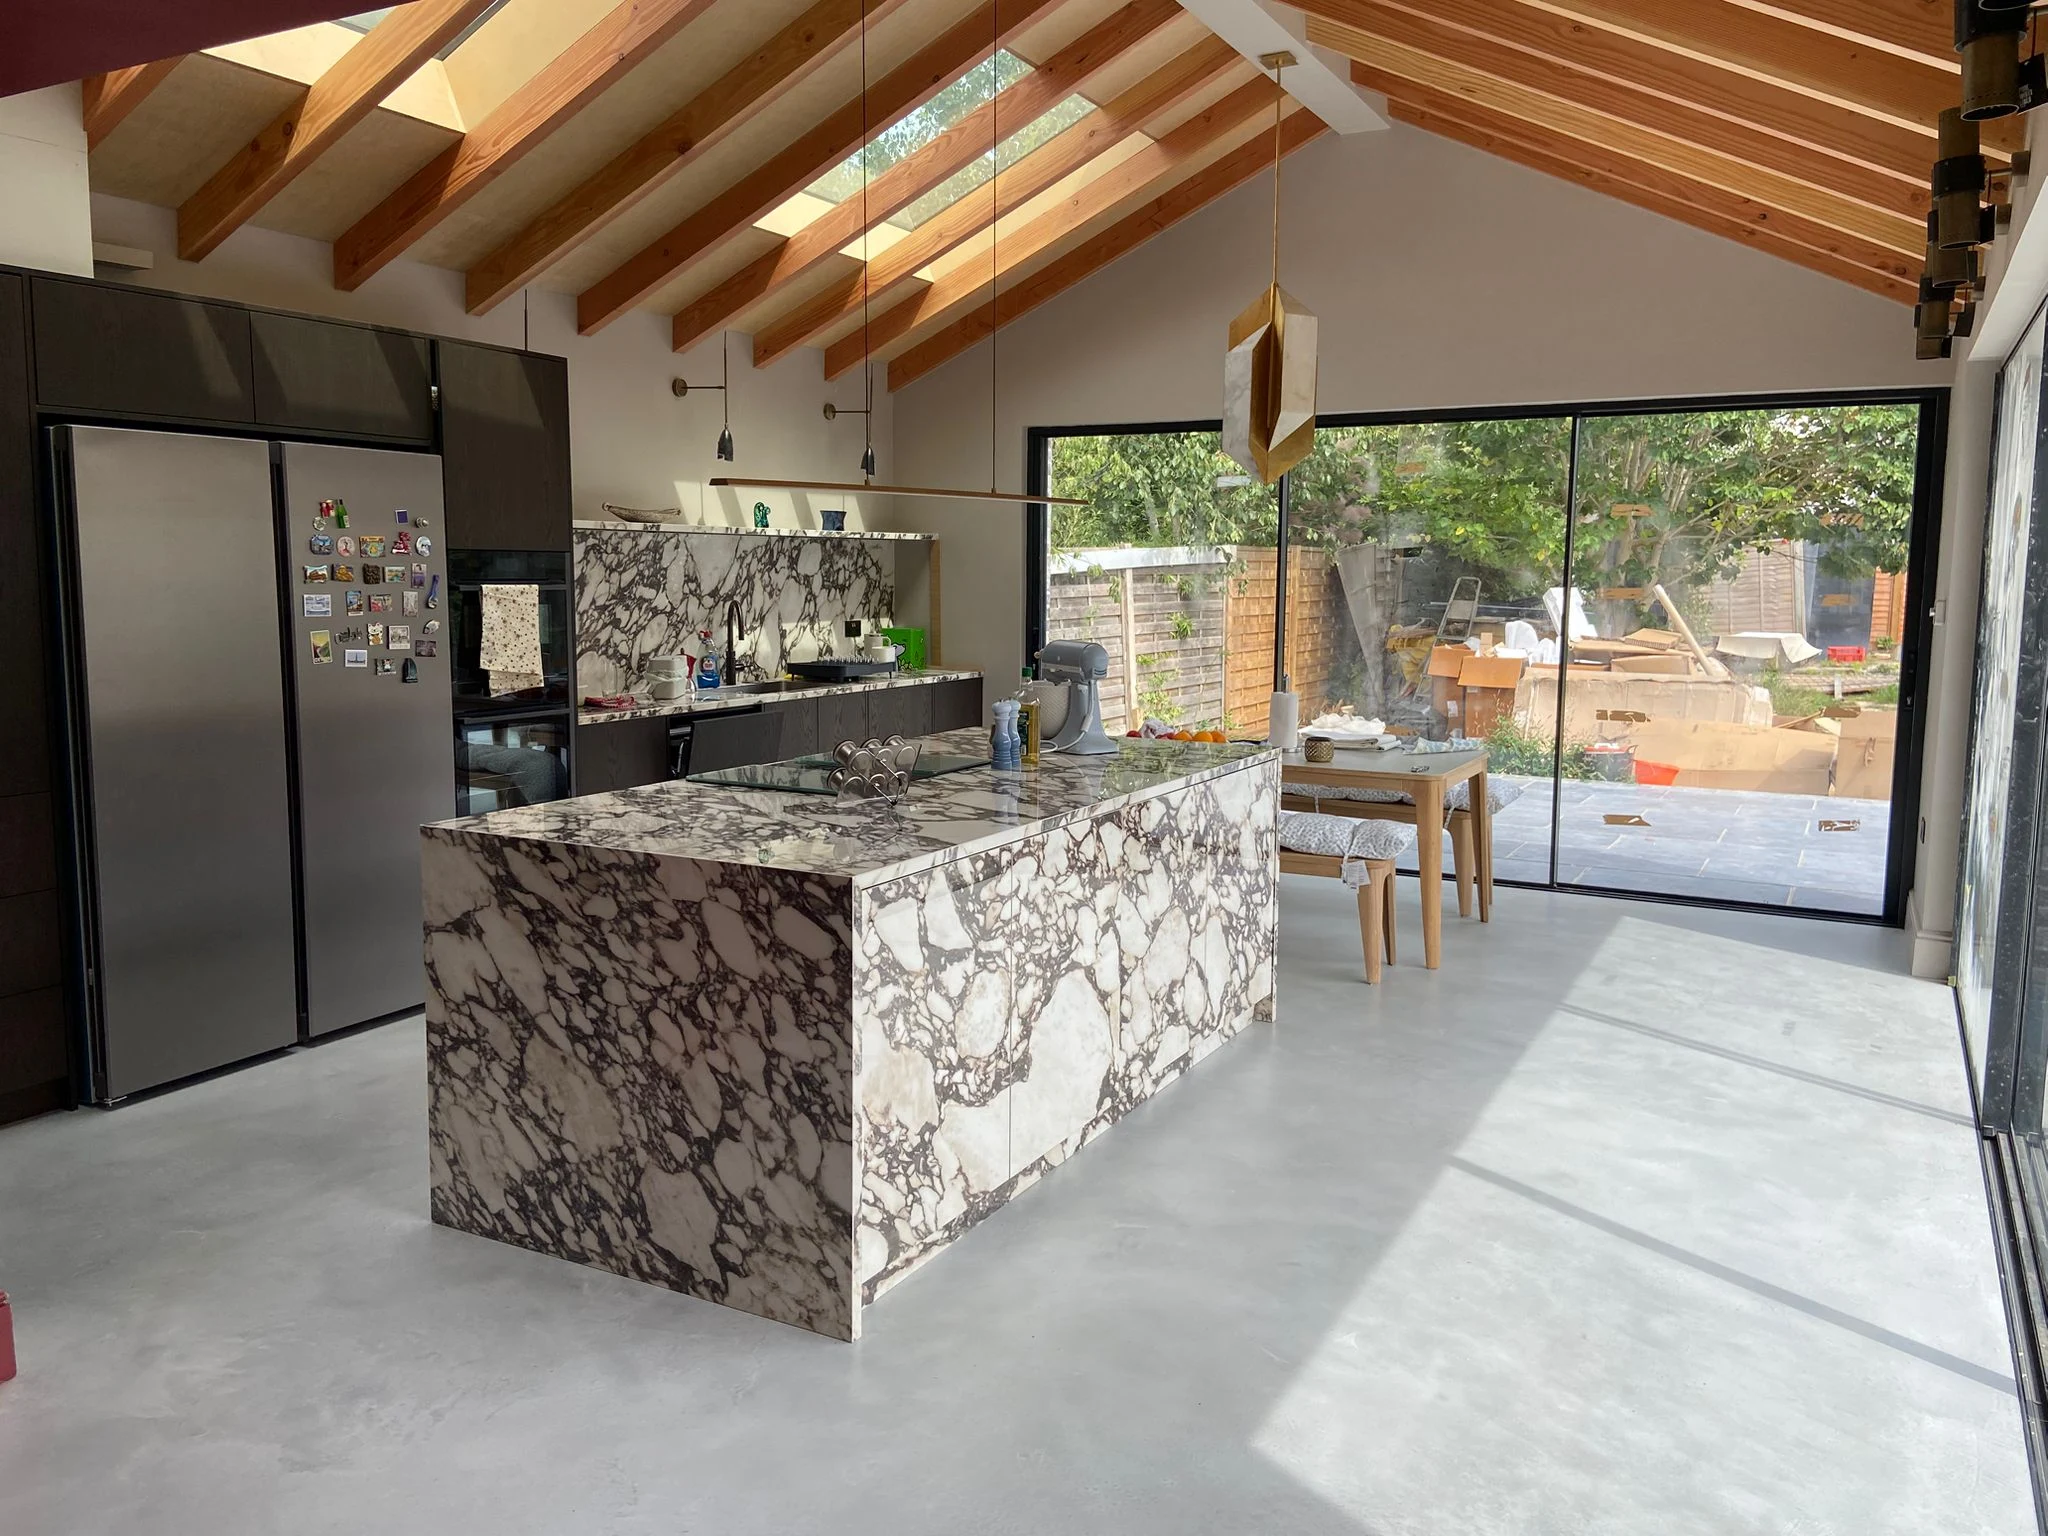
This guide looks at bespoke island design through real JS DECO projects: a ceramic-clad centrepiece, an island for cooking and seating, and storage built into the furniture. The aim is to help you decide what your own island needs before choosing its final appearance.
Choose what the island should do first
An island can serve several purposes, but making one function the starting point helps resolve the others. A preparation-led island benefits from a usable, uninterrupted surface and nearby utensil storage. A cooking island needs the hob, extraction, service routes and surrounding working space planned together. A social island needs a comfortable seating position that does not obstruct the working side.
- Preparation and servingKeep a useful stretch of worktop clear. Decide which small appliances can live elsewhere and where plates, boards and utensils will be stored.
- Cooking or washingPlan the appliance or sink with its services, access and neighbouring storage. A sink or hob changes how much continuous preparation space remains.
- Seating and conversationConsider legroom, the stool position and the route behind occupied seats. Keep the seating side separate from the busiest working route.
- Storage and displayChoose enclosed storage for everyday equipment and open shelving for items you want visible. Match the arrangement to how each side of the island is approached.
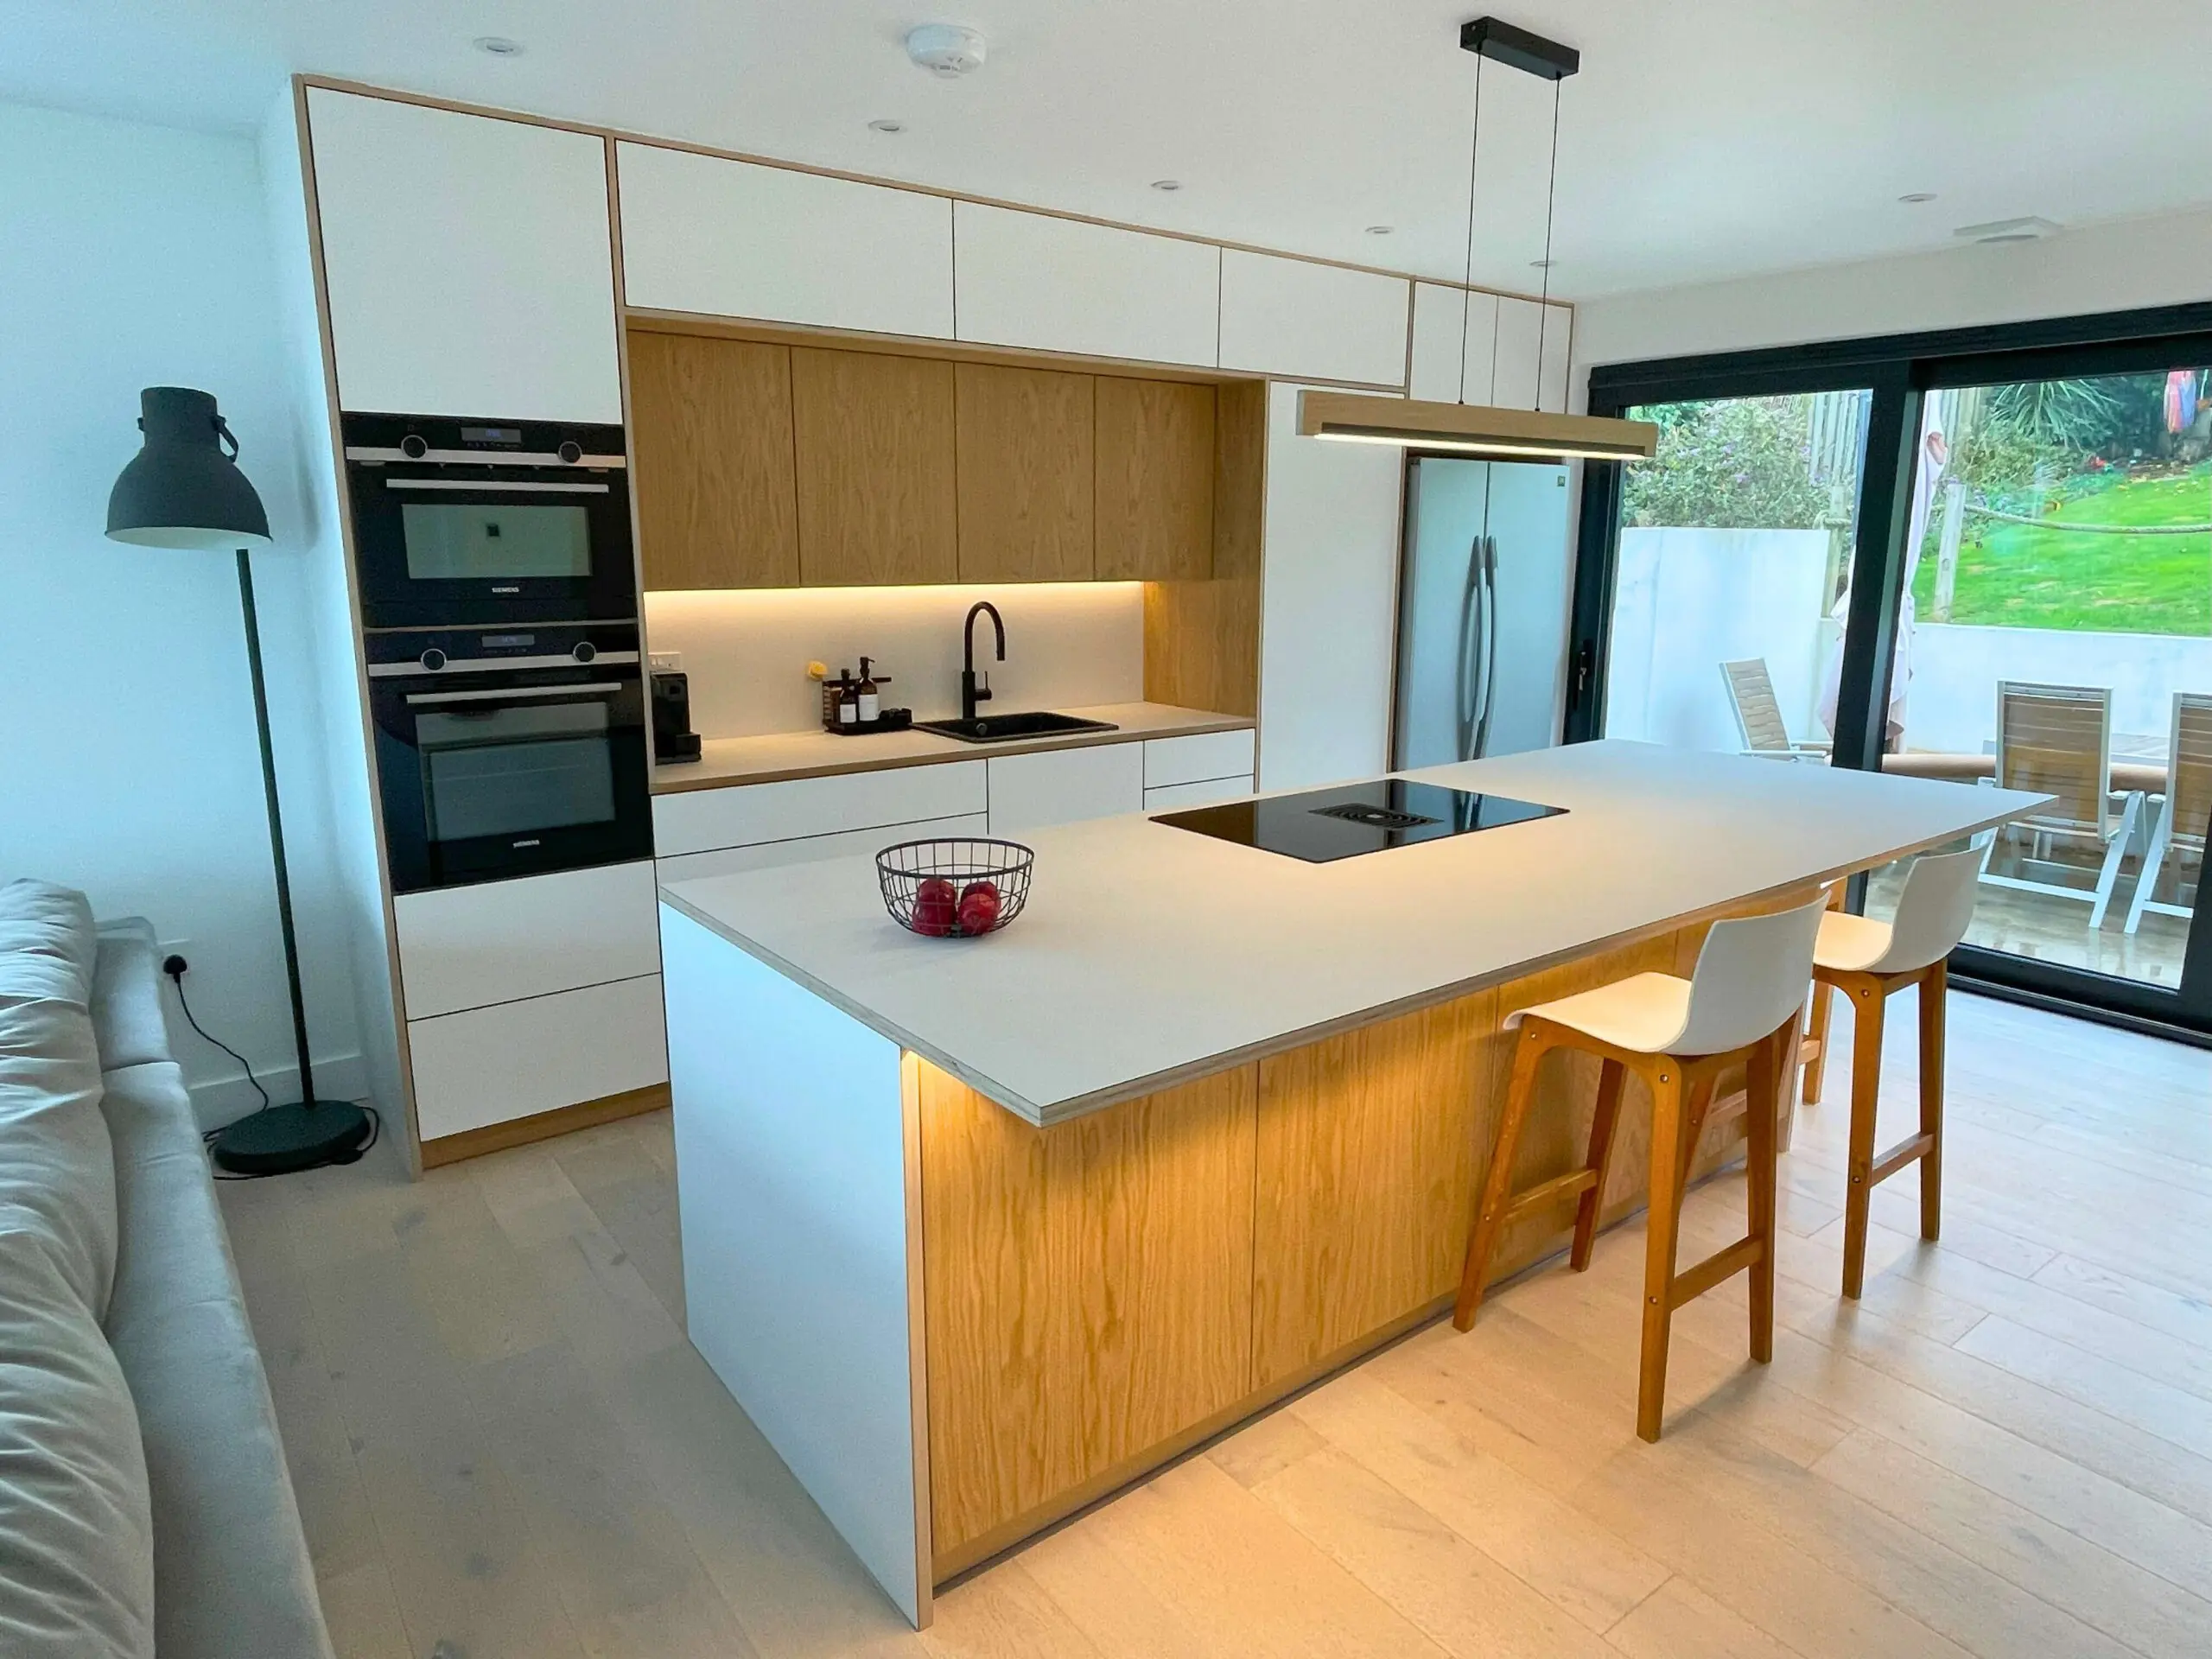
In the North Devon kitchen, the island brings induction cooking, preparation and casual seating together. The wider layout contains the sink, ovens and refrigerator, so the island is one part of a complete working arrangement.
Design the space around the island, not just the island itself
Start with a measured room plan showing doors, glazing, fixed services and the adjacent cabinets. Then consider how people move through it: carrying shopping to the fridge, unloading the dishwasher, cooking together or walking past someone seated at the island. An attractive island can become an obstacle if these routes are treated as leftover space.
Check the arrangement with drawers and appliance doors open, as well as closed. The clear space needed depends on the equipment, the number of users, seating and whether the aisle is also a route to another room. Test the proposed footprint on the floor before fixing cabinet dimensions. A peninsula, a smaller island or a clear central floor area may suit a restricted room better.
Two islands can separate preparation and serving in a large room, but only when there is enough space for the extra circulation. More cabinetry is useful only if it improves how the kitchen works. Our kitchen layout guide considers the island alongside alternative arrangements.
Coordinate the worktop, fronts and end panels
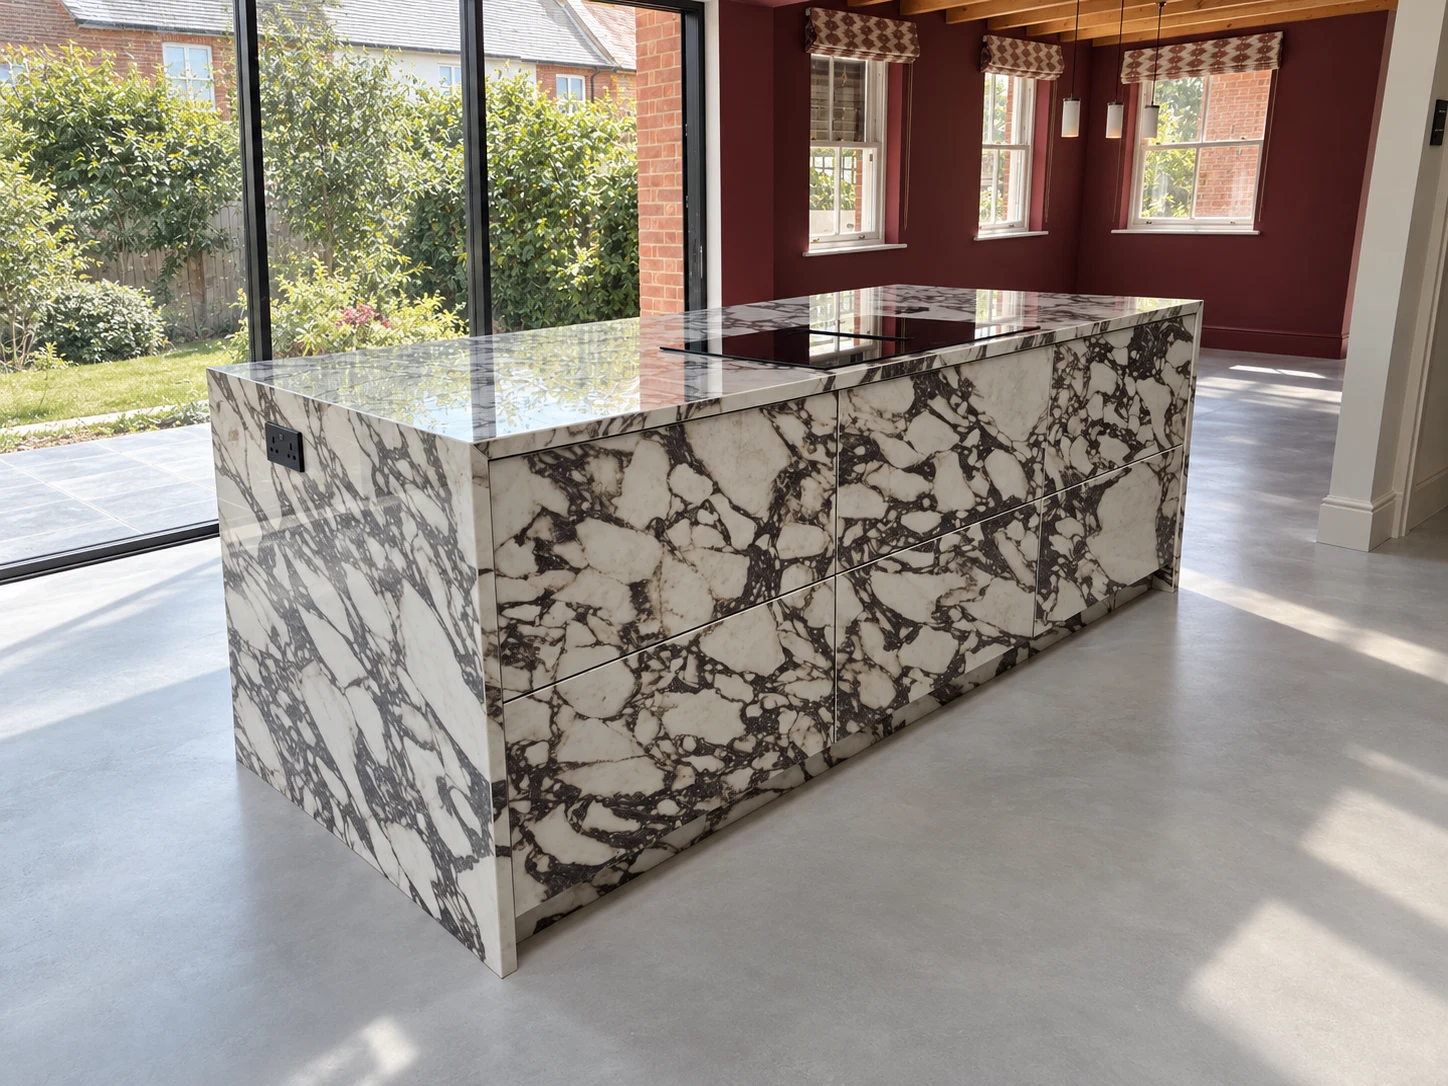
The island is often seen from the living area as well as from the kitchen. Consider its outer face, end panels, worktop edge and seating side as one composition. A waterfall end can carry the worktop material down to the floor; timber or veneer can create a warmer contrast; a matching front finish can connect the island to the main run.
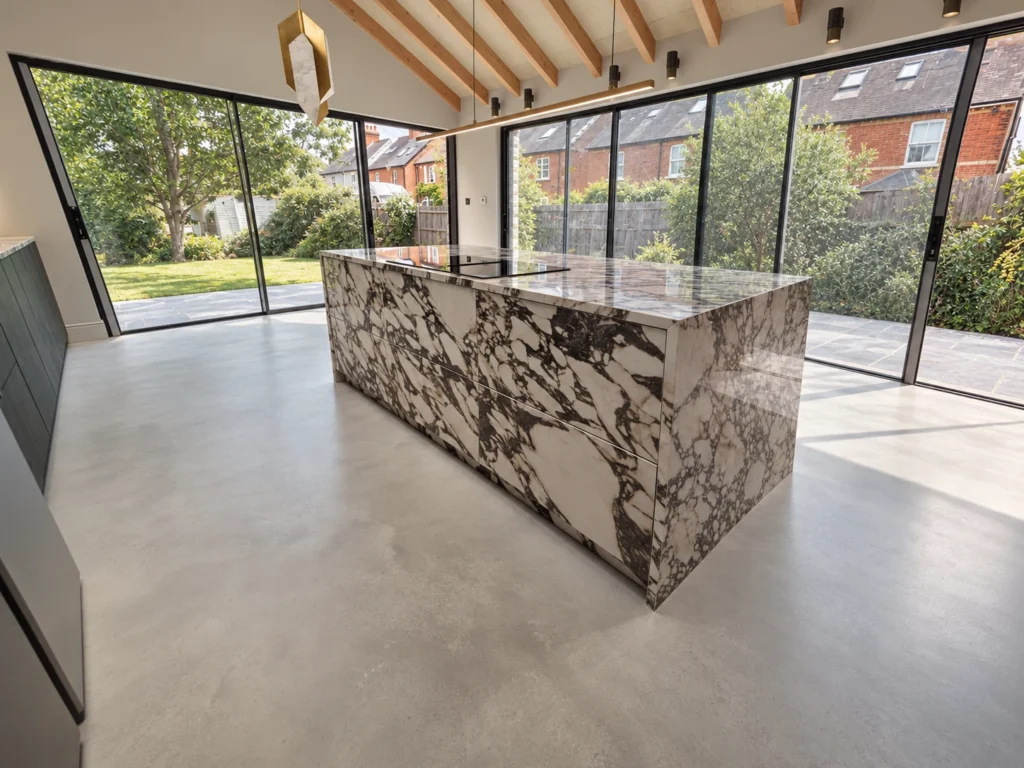
In Cobham, ceramic continues across the island’s visible fronts and end panel, creating a strong patterned centrepiece opposite the darker oak cabinetry. The design, manufacture and supply were by JS DECO, with installation by the customer’s appointed fitter. That project shows a particular material treatment, rather than a requirement for every island.
Worktop appearance and daily care belong in the same decision. Compare the actual samples, joints, edge details and intended use, then refer to the chosen product’s care guidance. Our kitchen worktop guide covers the wider material choices; marble and granite design ideas provide another visual direction to explore.
Make the storage serve the working surface
Place the items used at the island close to where they will be handled. Shallow drawers can separate utensils, deeper drawers can hold larger cookware, and the outer face can provide storage that someone can access without entering the cooking area. Specify the contents before selecting the drawer heights.
The West Yorkshire chef’s kitchen uses a stainless-steel island as a working station, with drawers directly below it. In Manchester, the black FENIX island combines enclosed cabinetry with illuminated open shelves. These are different responses to different briefs: equipment close to hand in one, a display face towards the room in the other.

For the wider cabinet plan, see our bespoke kitchen storage guide. Storage, seating and worktop supports need to be coordinated before the external proportions are settled.
Turn the idea into a clear island brief
- Measure the roomShare the available plan, photographs, door positions and any changes planned for the building.
- Set the prioritiesChoose the main island job and the number of people likely to cook or sit there at the same time.
- Coordinate the specificationBring appliance details, storage contents, worktop choices, lighting and service routes into the kitchen plan.
- Agree the scope and budgetCompare the furniture, surface fabrication, appliances, delivery and fitting included in the quotation. Final dimensions and specification determine the price.
There is no reliable single price for a bespoke island without that specification. A simple storage island and a ceramic-clad island with appliances involve different work. A useful quotation makes those differences clear, rather than applying an unrelated average.
Frequently asked questions
Can an island work in a smaller kitchen?
Sometimes. The deciding factor is usable space around it, including opening appliances and occupied stools. Compare it with a peninsula or a clear central aisle before choosing.
Does every island need a hob or sink?
No. Keeping the surface free can provide a useful preparation and serving area, while cooking and washing stay on the perimeter run.
Can the island use a different finish from the cabinets?
Yes. A contrasting worktop, front or end panel can make it a focal point. Coordinate samples, edge details and the view from the adjoining room so the contrast feels intentional.
What should I share before discussing a bespoke island?
Start with room photographs or a plan, the main functions you want, appliance preferences and an indicative budget. The island can then be considered as part of the complete kitchen layout.
Plan the island within the whole kitchen
The next step is to bring the room, storage, appliances and surface choices together in one design.
A kitchen plan built around your priorities
Explore how the design service develops the layout and material decisions before the furniture is made.
Explore kitchen design